Figma has revolutionized the design landscape with its intuitive collaboration and prototyping capabilities. Figma prototyping empowers designers and developers to create interactive prototypes, test designs, and gather valuable feedback, all within a single platform.
In this guide, we’ll explore everything you need to know about Figma prototyping, from its features and benefits to best practices, so you can elevate your design process and deliver exceptional user experiences.
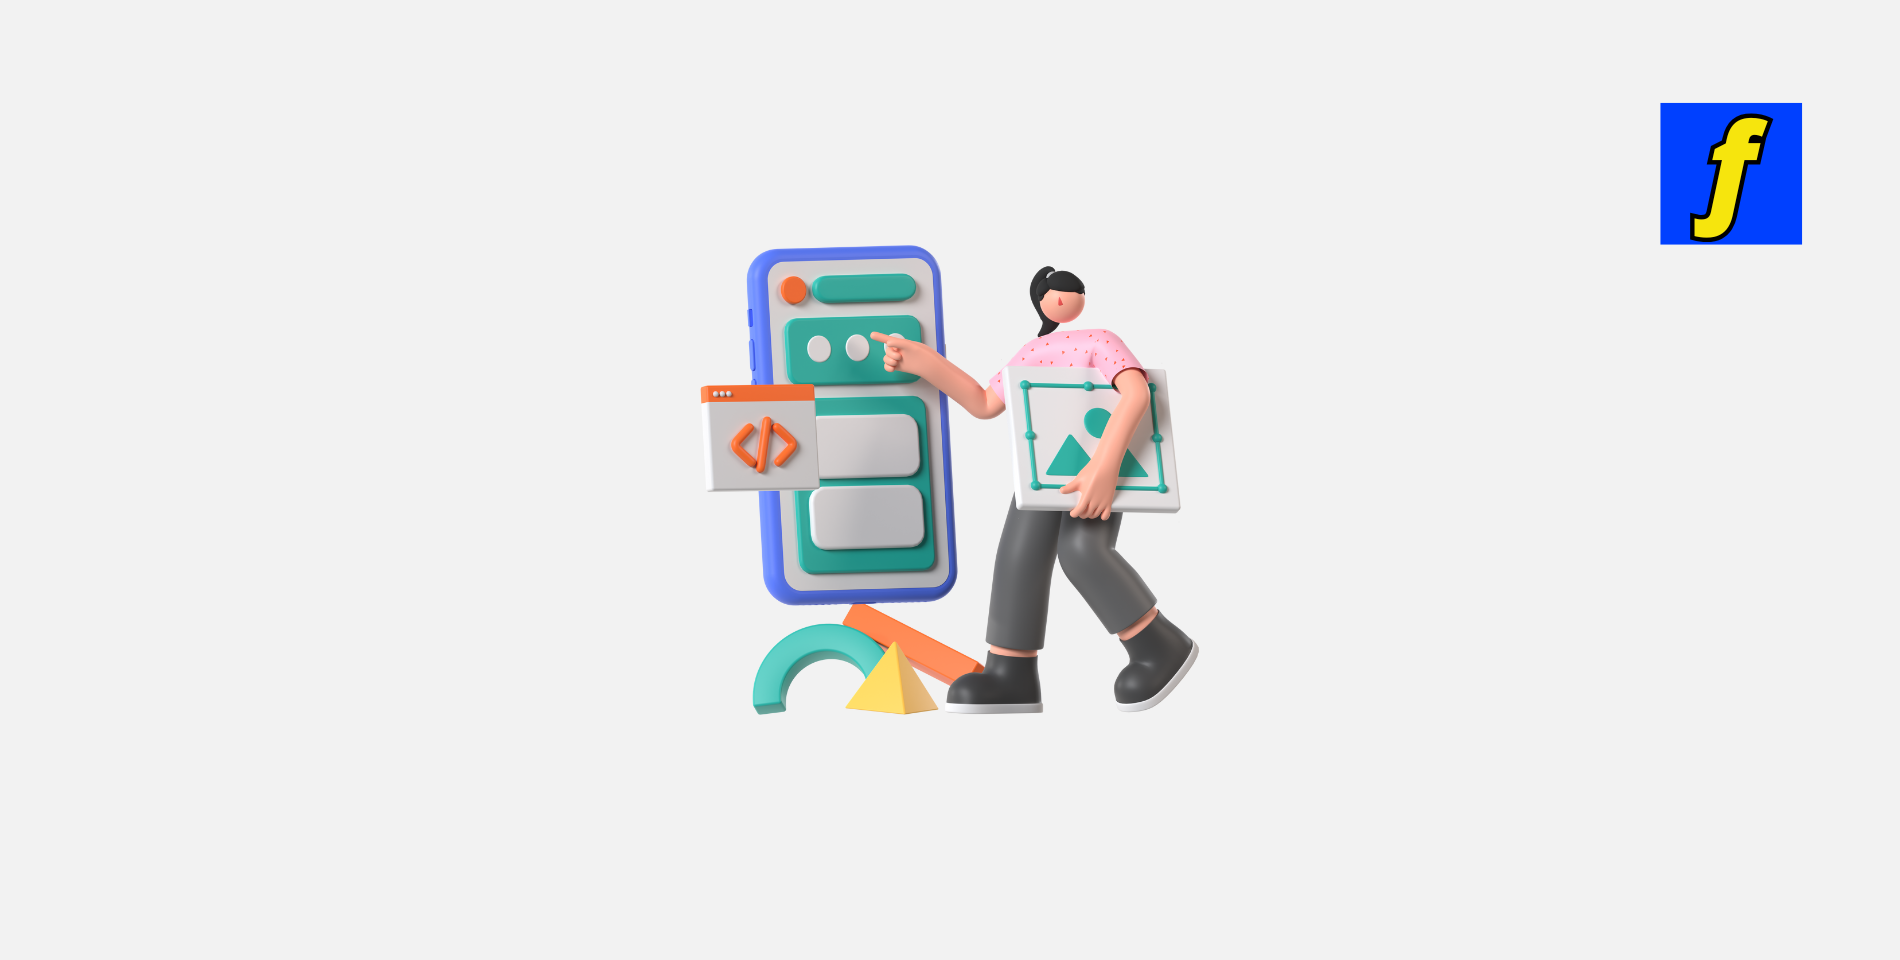
What is Figma Prototyping?
Figma prototyping is the process of turning static designs into interactive experiences directly within the Figma platform.
By linking frames, adding transitions, and simulating user interactions, you can create realistic prototypes that mimic the functionality of a final product. Figma prototyping enables you to test usability, visualize user flows, and iterate on designs before development begins.
Transform your design vision into reality with Flow & Design’s professional web design services. Whether you’re starting from scratch or need expert customization, our team is here to create a stunning website tailored to your goals.
Get Started Today!
Key Features of Figma Prototyping
Interactive Components
Figma allows you to build interactive components that respond to user interactions. Whether it’s hover states, dropdown menus, or toggles, this feature adds realism to your prototypes and enhances usability testing.
Smart Animate
The Smart Animate feature lets you craft smooth animations and transitions between states. Use it to create seamless effects like fades, slides, and complex micro-interactions for a polished user experience.
Device Preview
Preview your prototypes on different devices to ensure they adapt seamlessly across various screen sizes. This feature is ideal for responsive designs, helping you fine-tune the experience for mobile, tablet, and desktop users.
Collaboration
Figma’s real-time collaboration capabilities enable teams to work on prototypes together. Designers, developers, and stakeholders can contribute feedback directly, fostering creativity and streamlining the design process.
How to Create a Prototype in Figma
Step 1: Design Your Screens
Start by designing all screens or states within Figma. Use separate frames to represent individual pages or components of your user flow.
Step 2: Link Frames
Select interactive elements, like buttons or menus, and use the Prototype tab to link them to other frames.
Step 3: Add Interactions
Define the type of interaction (e.g., click, hover) and customize transitions with duration and easing options for smoother animations.
Step 4: Preview and Test
Use the Play button to preview your prototype. Test the interactions to ensure everything flows as expected and adjust as needed.
Best Practices for Figma Prototyping
Keep It Simple
Focus on the essential interactions and avoid overloading your prototypes with excessive animations. Prioritize clarity and usability to create intuitive user experiences.
Test Early and Often
Test your prototypes with users during the early stages to uncover usability issues. Regular iterations based on feedback ensure a refined and functional design.
Stay Organized
Maintain a clean Figma workspace by grouping layers, naming elements consistently, and using frames effectively. An organized setup makes it easier to iterate and collaborate.
Collaborate with Team Members
Invite team members to review and contribute to your prototypes. Figma’s collaborative environment encourages feedback that enhances the design’s quality and usability.
How Figma Prototyping Compares to Other Tools
Comparing Figma with Popular Tools
Figma has revolutionized the design world, but how does it stack up against competitors like Sketch, Adobe XD, and InVision? Let’s take a closer look:
- Sketch: A powerful design tool for macOS, but lacks real-time collaboration and requires third-party plugins for certain functionalities.
- Adobe XD: Offers smooth integration with Adobe’s Creative Cloud, yet its collaboration features are less intuitive compared to Figma.
- InVision: Known for prototyping and user testing, but lacks Figma’s all-in-one design and collaboration interface.
Key Differences
Figma stands out due to:
- Real-Time Collaboration: Multiple users can work on the same file simultaneously.
- Cross-Platform Availability: Accessible via web browser and native apps for macOS and Windows.
- No File Management Hassle: No need for manual syncing; everything is saved in the cloud.
Figma vs. Competitors: A Comparison Chart
| Feature | Figma | Sketch | Adobe XD | InVision |
|---|---|---|---|---|
| Real-Time Collaboration | ✔️ | ❌ | Limited | Limited |
| Cross-Platform Support | ✔️ | ❌ (macOS only) | ✔️ | ✔️ |
| Cloud-Based | ✔️ | ❌ | Limited | ✔️ |
| Free Plan | ✔️ | ❌ | ✔️ | Limited |
Advanced Interaction Design in Figma
Nested Interactions with Components
Figma allows you to build nested interactions within components for added complexity and functionality:
- Design a parent component (e.g., a dropdown menu).
- Add child components (e.g., buttons or options) that have independent interactions.
- Link these components together for multi-layered interactions.
Building Micro-Interactions with Smart Animate
Smart Animate lets you create smooth transitions between states:
- Define keyframes for your design elements.
- Use Smart Animate to morph properties like position, opacity, or scale.
- Examples include hover effects, button presses, and loading animations.
Leveraging Figmotion for Advanced Animations
Take your animations to the next level with Figmotion:
- A powerful plugin for keyframe-based animations directly in Figma.
- Ideal for designing intricate motion graphics or interactive UI elements.
Mobile-First Prototyping with Figma
Designing with a Mobile-First Mindset
- Start with smaller screen sizes and scale up for larger devices.
- Prioritize essential content and functionality for mobile users.
Interactive Mobile Prototypes
Figma makes it easy to design and test mobile prototypes:
- Create touch-friendly interactions, such as swipes, taps, and long presses.
- Use Figma’s mobile preview feature to test your designs on actual devices.
Ensuring Usability Across Devices
- Leverage Auto Layout to create responsive designs.
- Test prototypes on multiple screen sizes to ensure consistency and usability.
Figma Prototyping for Developers
Streamlining Design Handoffs
Figma simplifies handoffs with developer-friendly tools:
- Inspect Mode: Developers can easily view design specs, dimensions, and CSS code directly within Figma.
- Export Options: Export assets in developer-friendly formats such as SVG, PNG, or code snippets.
Developer Annotations and Feedback
- Add annotations to your prototypes to provide additional context.
- Use comment features to address developer questions or concerns.
Encouraging Feedback During Prototyping
- Share prototypes with developers early to gather input on feasibility.
- Use interactive elements to demonstrate design functionality and clarify workflows.
Conclusion
Figma prototyping is an invaluable tool for transforming static designs into dynamic, interactive experiences.
By mastering its features and adopting best practices, you can streamline your design workflow, test usability, and create prototypes that truly resonate with users. Begin your journey into Figma prototyping today to elevate your designs and deliver impactful user experiences.
Ready to take your design skills to the next level? Start using Figma, the ultimate tool for collaborative design and prototyping. With its intuitive interface and powerful features, Figma is perfect for creating everything from wireframes to high-fidelity designs.
Try Figma Now!